Demystifying Roof Flashing Installation Costs: Your Complete Guide by Roll Tech Australia
While the importance of a well-installed roof flashing system is undeniable, understanding the associated costs can be tricky. In this comprehensive guide, we aim to demystify the complexities surrounding roof flashing installation costs. We’ll delve into roof flashing, why it’s an essential component of any roofing system, and the factors influencing its cost.
Whether you’re a first-time homeowner or looking to renovate, this guide will equip you with the knowledge you need to make an informed decision. So, let’s begin this educational journey and help you safeguard one of your most significant investments — your home.
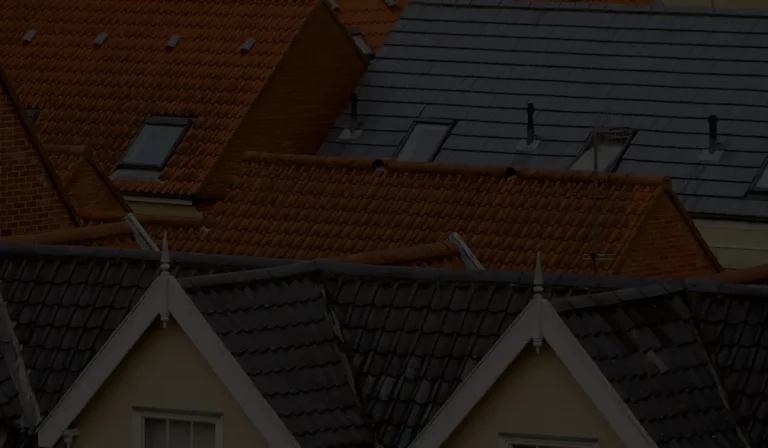
Why Roof Flashing is Essential
One of roof flashing’s primary roles is to act as a barrier that prevents water from seeping into the vulnerable areas of your roof, such as joints, valleys, and the areas around chimneys and skylights. Improper flashing can lead to water damage, resulting in costly repairs and compromising your home’s structural integrity over time.
In addition to its protective features, roof flashing also influences energy efficiency. A well-installed flashing system can help regulate your home’s internal temperature by preventing drafts and heat loss, reducing energy bills.
Moreover, the correct type of flashing material can add an aesthetic touch to your home, complementing its architectural style and increasing its curb appeal. So, investing in quality roof flashing is not just about avoiding leaks; it’s about enhancing your home’s overall longevity and value.
Types of Roof Flashing
When it comes to roof flashing, one size doesn’t fit all. Different areas of your roof require specific types of flashing to ensure maximum protection against water infiltration. Here’s a closer look at the various types:
Choosing the Right Material
Selecting the suitable material for your roof flashing is crucial for cost-effective and efficient installation. While copper is a premium choice known for its durability and corrosion resistance, it comes at a higher price point that may not be feasible for all budgets.
On the other hand, aluminium offers a lightweight and more affordable option, but it’s important to note that it can pit and oxidise over time. Galvanised steel is another common choice; however, it tends to be less durable in the long run than other materials.
Each material has pros and cons. The best option depends on architectural style, climate, and budget. Therefore, consulting with a certified roofing contractor is crucial to making an informed decision that aligns with your needs and circumstances.
Factors Influencing the Cost
Making an Informed Decision
Making an informed decision about your roof flashing installation involves more than just understanding the types and costs.
It’s crucial to consult with certified roofing contractors who can give you expert advice tailored to your needs. Don’t settle for the first quote you receive; instead, gather multiple quotes to compare services and pricing.

Additionally, customer reviews can offer valuable insights into the quality of service you can expect. Look for reviews that specifically mention the type of flashing you’re considering and the contractor’s responsiveness and professionalism.
By taking these steps, you’ll be able to make better and more informed decisions that ensure the longevity and effectiveness of your roof flashing.
Your Next Steps: A Friendly Reminder
So, you’ve read through this comprehensive guide and are now armed with the knowledge you need to move forward. What’s next?
Your next step should be to reach out for a professional roof inspection. This will give you a clear picture of the current state of your roof and what type of flashing is most suitable.
Don’t hesitate to ask for a no-obligation quote and discuss any concerns or questions. Remember, the goal is not just installing roof flashing but making a wise investment that will protect your home for years.